iOS 17 added many new frameworks to SwiftUI, and one of the eagerly awaited ones was Keyframe Animations. It's a tool well known to UIKit developers that allows developers to easily chain animations together and control their length, creating a complex effect that is broken up into easy to write and understand blocks. Unfortunately, Keyframe animations were not available in SwiftUI until now, and developers had to come up with complicated solutions - as did we, in our Animated Tab Bar library. We rewrote our old code to use the new tool, and decided to show you the before and after.
Keyframes 101
Here is a short introductions to what keyframes are, in case you are not familiar with them. If you already know what they are, feel free to skip this part and go to the comparison.
Let's say we have a red circle on screen and we want to implement the following sequence - the circle grows in size, moves up, then falls back down and shrinks to its original size.

- time: 0->0.2 circle grows bigger
- time: 0.2->0.5 circle jumps 100 pixels up
- time: 0.5->0.7 circle falls down and shrinks back
The new API from Apple allows us to do this pretty easily. Let’s start with changing only one parameter:
Here are the expected changes:
- time: 0->0.2 value: 1.0->1.2
- time: 0.2->0.5 value: do nothing, wait
- time: 0.5->0.7 value: 1.2->1.0
Now we will change the rest of the parameters. We create a struct to hold all the parameters, and set reasonable initial values:
And that's all there is to it! Here is what the resulting code looks like:
Rewriting old code + comparison
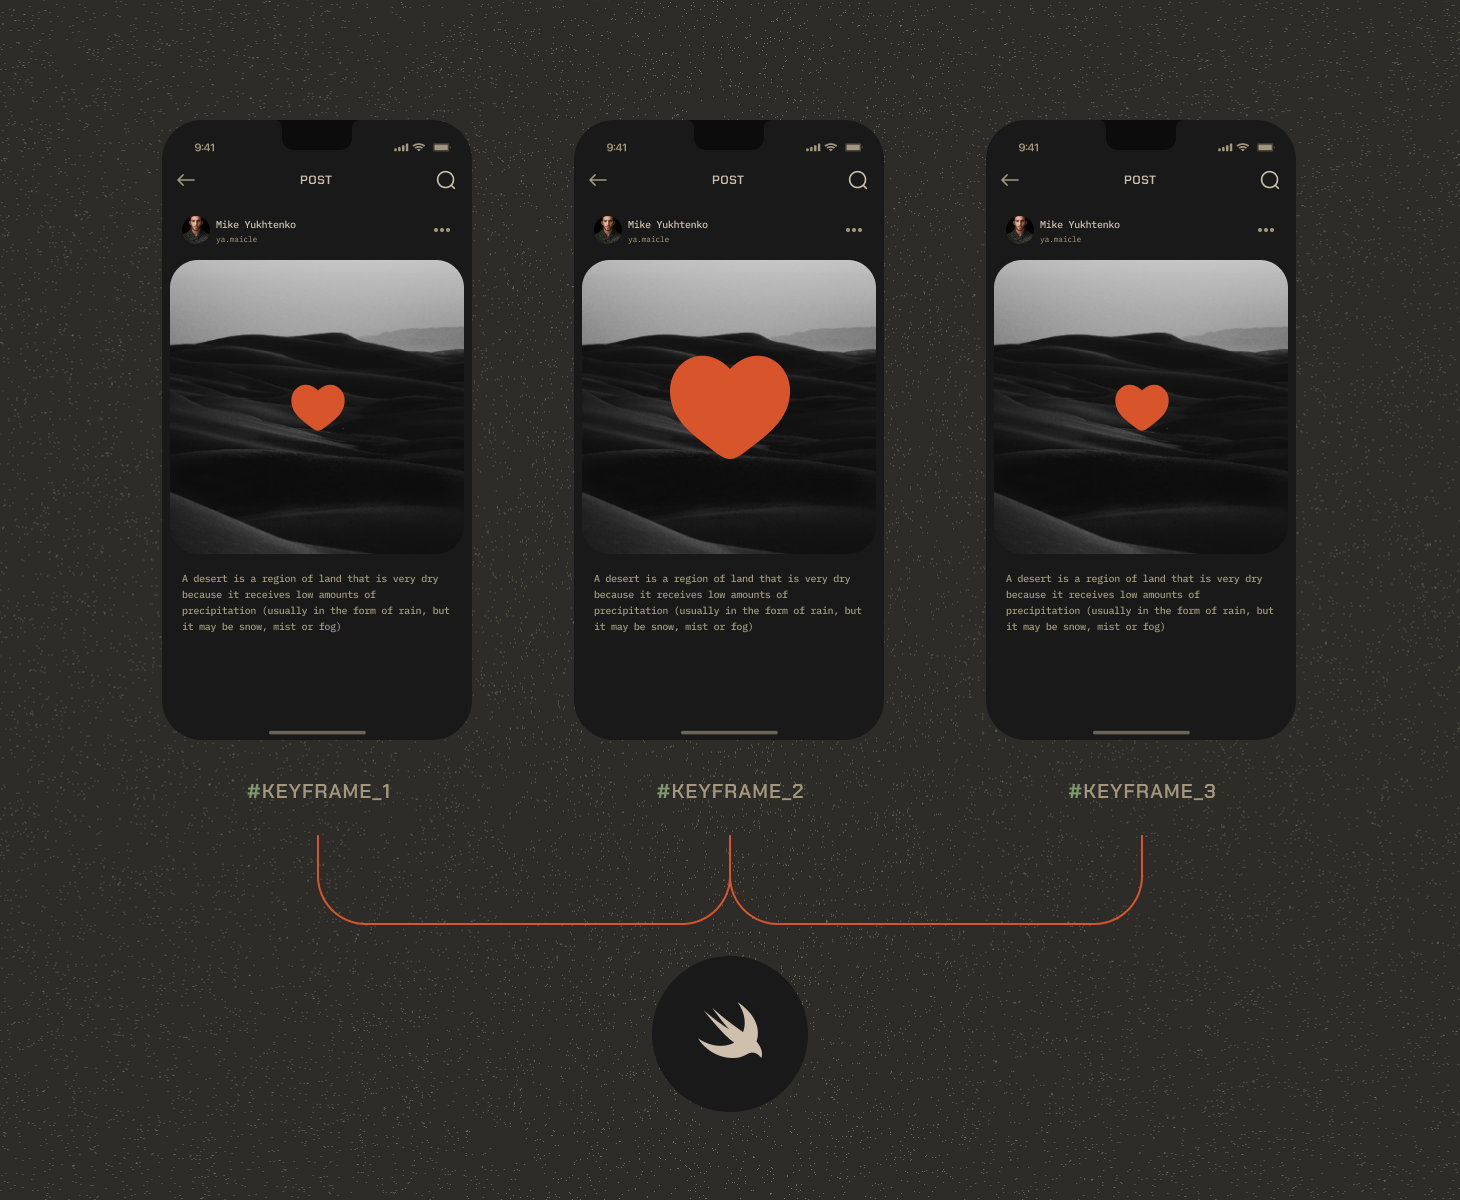
Now that we are familiar with the idea of keyframe animations and the API for iOS 17, let us revisit this library and implement the wiggly button animation using keyframes. This, of course, could be applied to any of the available animations.

Here are the links to the old and the new wiggly button implementations. These are the benefits and the drawback we noticed during reimplementing it, with code excerpts from the two linked files.
The good
Applying time curves
Before we had to use two separate withAnimation blocks to apply two different time curves to two different parameters - so that the wiggly insides of the button and their size would change with different animations. Now this can be replaced with two KeyframeTracks, allowing to set an animation curve for every chosen period of time, not just the whole animation.
Old code:
New code:
Looped Interpolation
This piece of code just translates t going from 0 to 1 into a 0->1->0 interval - so that the wiggle background can grow and then shrink back again during the whole length of the animation.
We will represent the desired interpolation with a little table:
- time: 0 -> 0.5 t: 0->1
- time: 0.5 -> 1.0 t: 1->0
But this code looks unnecessarily complicated. Let's use KeyframeTrack once again to get the same result with cleaner code.
Old code:
As for the new code, you've actually already seen the change! Here's the same code from before:
The bad
Here we replace the growing animation of a button when it is selected. But we also need a shrinking animation for when it's deselected. It should be much less flashy, just a calm shrinking back down without any wiggling. But neither keyframes modifier nor KeyframeTracks allow for if/else blocks. You also can’t add two keyframeAnimators since then the content will be displayed two times. To solve this, we decided to create a separate KeyframeTrack for the backwards animation and add the necessary ifs inside the body itself. This unfortunately means that when we launch the growing animation the KeyframeTrack(\.shrinkingScale) is calculated but not used, and vice versa.
The ugly
If you use the keyframeAnimator<Value>(initialValue: Value, repeating: Bool… version of the animator, then everything works great, going back and forth indefinitely. But when we used keyframeAnimator<Value>(initialValue: Value, trigger: some Equatable , we noticed that even though the trigger is switched reliably, the animation sometimes doesn’t happen. At the time we could not understand the correct way to fix it. But a working hack we used was to add a timer which changes the @state variable holding the current time, triggering a reset for the animation state, and fixing the issue.
Conclusion
We are happy to finally see the keyframe animation API in SwiftUI. Unfortunately, it still comes with some drawbacks, but we hope that Apple will fix them soon. Even in this state it's a very powerful and useful tool to have in your SwiftUI arsenal. For other useful tutorials and libraries please check our blog and Github!