An often-requested feature for a mobile app is a chat. It can either be a social (one-on-one and group chatting between users) or a support (chatting with a company representative) tool. In any case, developing one from scratch can be a serious challenge for both the mobile and the backend part of the development team.
Thankfully, there are a lot of frameworks and libraries that solve this exact problem. Depending on the level of control you desire over the final result, you can either take a plug-and-play solution, or combine different modules into a finished feature.
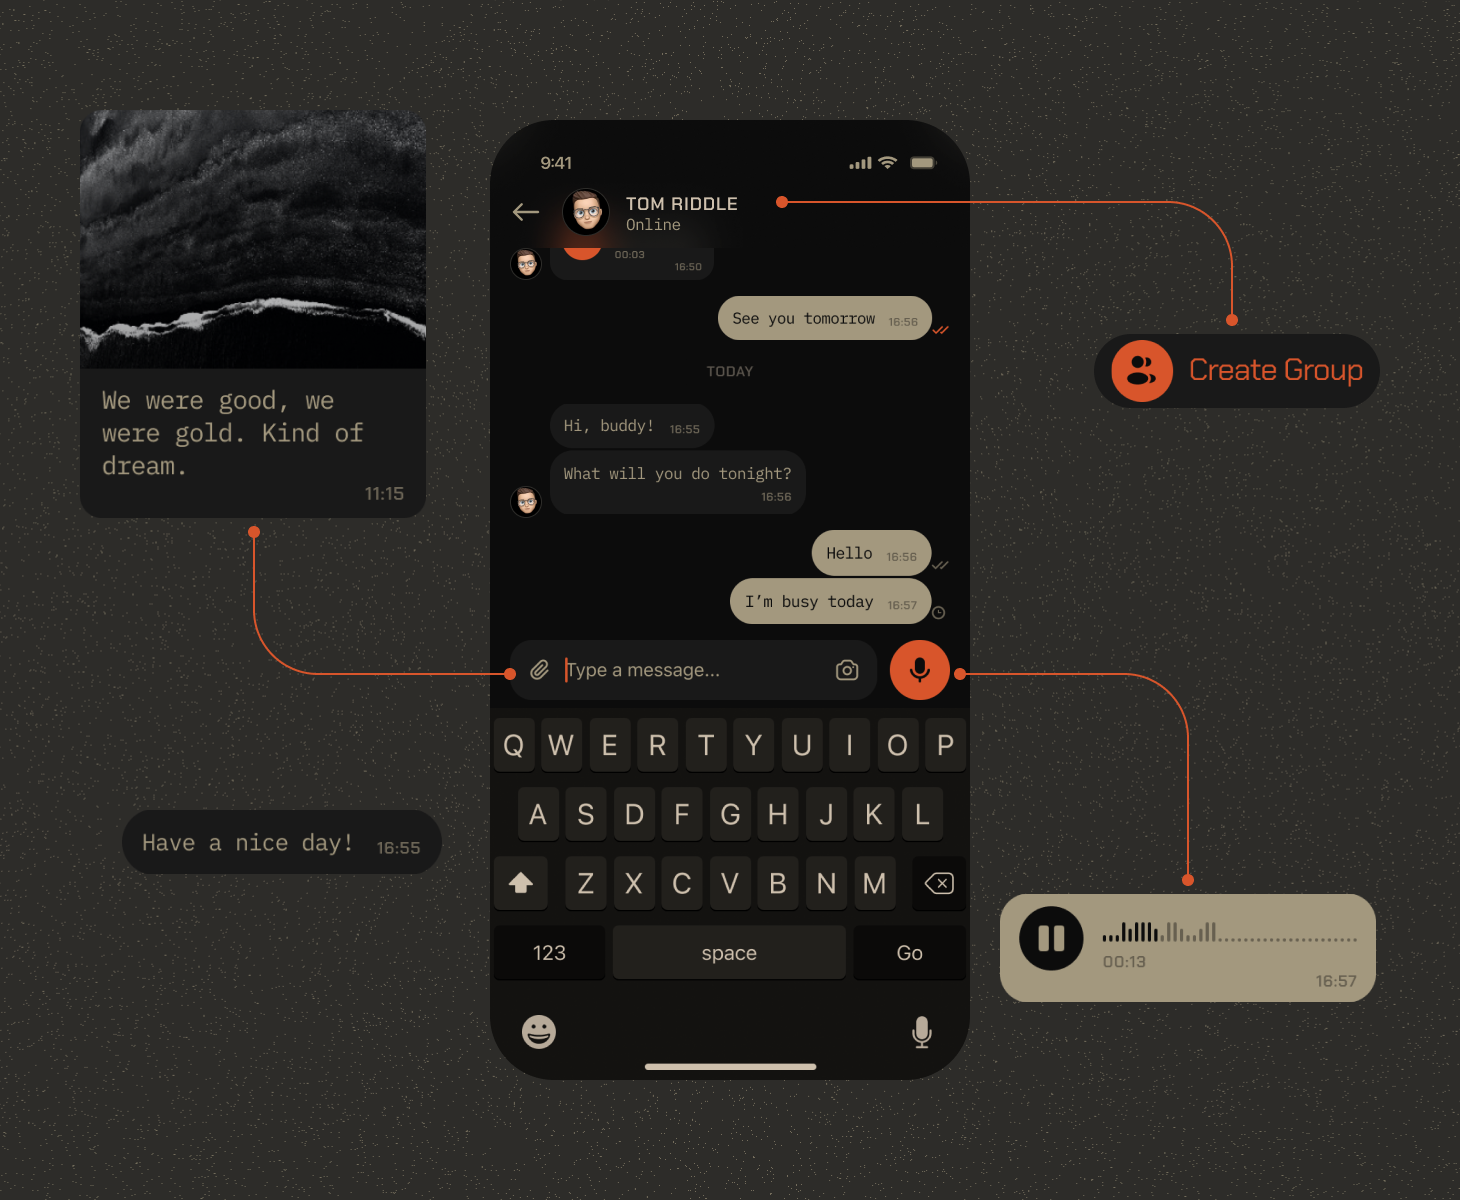
Recently we released our Chat library for SwiftUI (link) - a mobile UI module that can work with any backend of your choice. And a very popular choice for a chat backend is Firestore - a realtime database by Google that does all of the heavy lifting for you. So here is a step-by-step tutorial on how to add a chat to your app, combining a SwiftUI chat frontend library with a Firestore backend.

Step 1 - Set up Firebase
Create a new project in the Firebase console and follow the instructions to create a database that will hold your media (like avatars, recordings and photos).
Step 2 - Create the models in your Swift code
As a bare minimum, you will need objects to represent the basic entities - User, Message and Conversation. You reuse them directly as they are in our library, or map them to your own models. Here is the implementation from our library:
User:
Step 3 - Create Firestore models
They should mostly duplicate the actual models, only without the unnecessary heavy stuff. For example, it is better to only store userId for the author of a FirestoreMessage, when the Message model does need the actual User model as a field. Keep this in mind when creating models with the minimum amount of fields necessary. Here is our implementation of FirestoreMessage:
Step 4 - Subscribe to Firestore updates
In most chat implementations you want live updates for new conversations and messages coming for the current user. Firestore subscription is very simple to set up - you only need to add a listener to the collection you want to observe, and write a callback to be used when new data comes in. Here's an example from our DataStorageManager:
Step 5 - Create the UI
For a standard chat you would need views for
- Authentication, to create a new User.
- List of users, to create a new Chat.
- List of chats, to create Messages in them.
Step 6 - Send and receive messages
In a single Conversation view you can handle sending and receiving the messages. You pass the messages that appear in Firebase to display them, and in turns send the user’s messages to Firebase.
Step 7 - Upload media to Firestore
You should upload big files to Firestore. This will give you a link to your file, which you can store in your regular firestore DB. We have an UploadingManager in our example project, that handles our uploads - for example, when creating a new User:
This should set you on the right path for creating a basic chat module and sending your first message in your SwiftUI project. Of course, you can expand the functionality as you see fit - implement custom message types and views, new attachment types, fancy UI and transitions etc.
Customization
For example, what if you want to change the appearance of the message views, by adding an animated gradient as the background? We will use another of our libraries, AnimatedGrandient, to act as a background view for each message, changing the colors depending on the author of the message.
Our library provides a ChatView initializer that takes a ViewBuilder as a parameter. This means that you can create a fully custom view for any message. In our case let’s do something simple - present it on the left or the right and select colors for the background animated gradient depending on the author.
And that's it! The readme of the library provides 2 more examples of customization.
Conclusion
While implementing chat functionality from scratch can be very daunting, using existing libraries and tools can make your life much easier and will suffice for most cases, except when you need some deep customization or uncommon functionality. We hope our library can prove useful for more common cases. For other SwiftUI related libraries and tutorials, make sure to check out our Github and blog!